ENGINEERING PROTOCOL // 6-STAGE INSTALLATION
GAZETTETONICTRAL DEPLOYMENT STANDARDS
Deployment Rigor

Professional Outdoor Installation Process

Every home requires careful structural consideration, weather sealing, and aesthetic cable concealment. Learn how our technicians handle every stage from site survey to active operation.
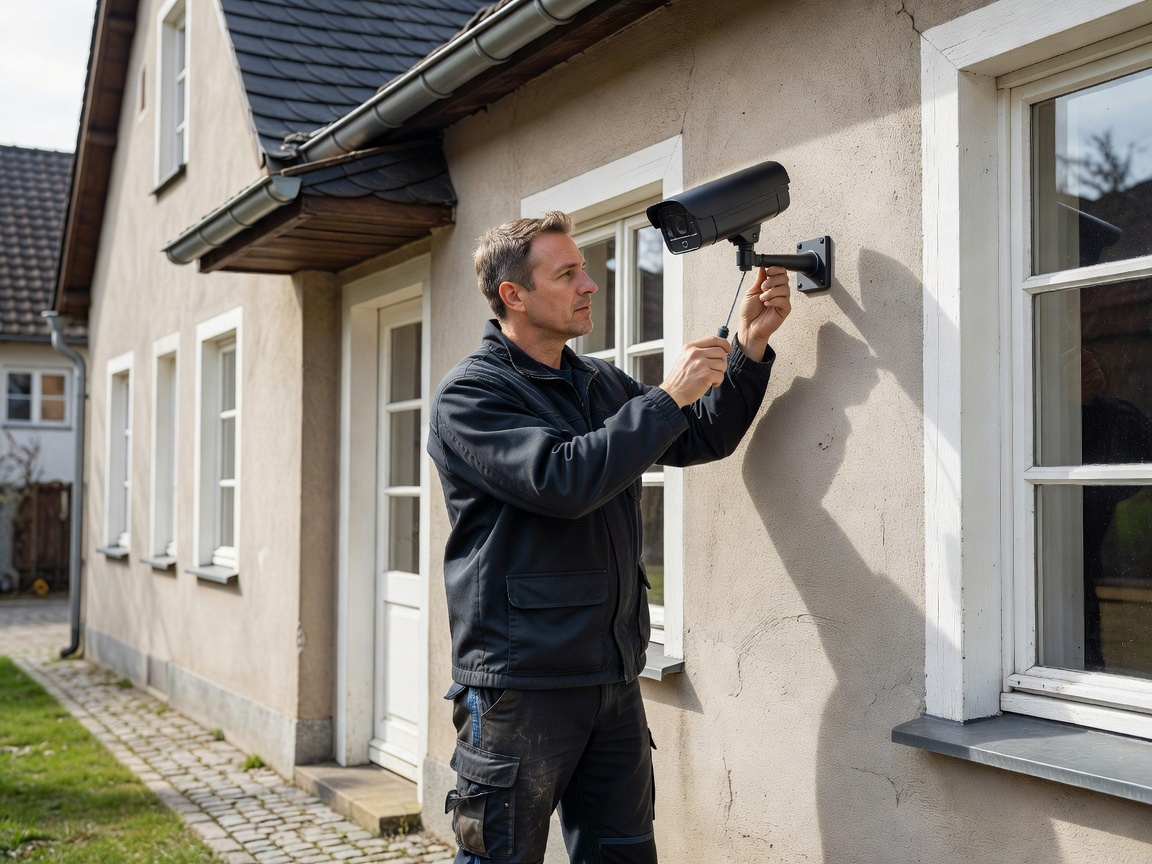
Professional technician securing and calibrating a weatherproof outdoor security camera on residential exterior wall
Stage Breakdown

Methodical Engineering in Six Stages

We believe structural integrity and neat craftsmanship are just as vital as lens resolution.

01 ASSESSMENT

Property Assessment

Review exterior areas, entrances, driveway approaches, and structural facade composition. We identify optimal mounting points, existing power access, and blind spots around the perimeter.

02 PLANNING

Coverage Planning

Determine specific camera positions, fields of view, focal lengths, and sun glare angles. Align viewing cones strictly with private property boundaries to adhere to privacy best practices.

03 SELECTION

Equipment Selection

Match each exterior location with the proper housing style (turret, bullet, dome), IP weather rating, low-light sensor, and suitable cable conduits or junction boxes.

04 INSTALLATION

Physical Installation

Secure cameras firmly to exterior brickwork, render, or roof soffits with silicone weatherproofing gaskets. Conceal UV-rated Cat6 network cabling through eaves and internal service voids.

05 CONFIGURATION

Configuration

Set up Network Video Recorder parameters, establish privacy masking polygons, fine-tune motion tripwires, and pair authorized client smartphones with encrypted credentials.

06 TESTING

Testing

Perform comprehensive day and dusk image quality audits, latency verification, push alert testing, and provide homeowners with complete hands-on operational training.